Our approach

Consider the room.
Then every detail.

A thoughtful installation begins with understanding the space—not just choosing what goes on top.

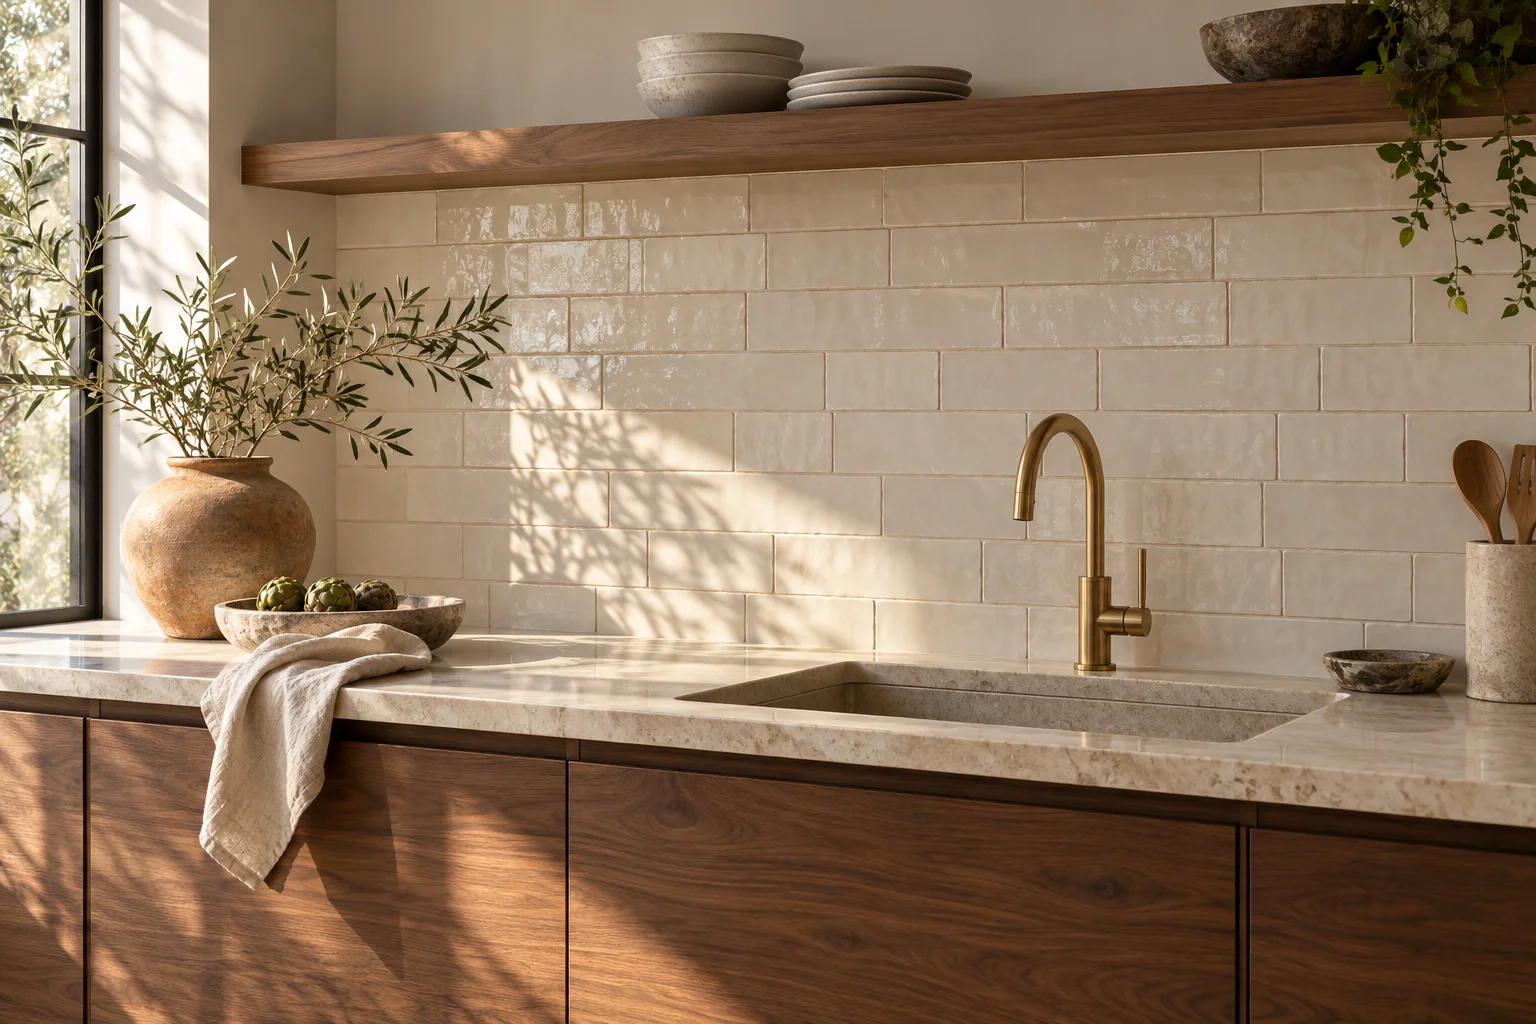
Kitchen tile detail in a warm, naturally lit interior

The starting point

Your project,
in your own words.

You might have a finished design, a tile sample or simply a room you want to change. Start there. Tell us which surface you are considering and what you hope to achieve.

Measurements and product details can help later, but you do not need a detailed brief to make an inquiry.

01

Understand the scope

The room, existing finish and intended tile help frame the conversation. Discuss which surfaces are included, what stays in place, and whether removal or other preparation needs to be assessed separately.

Ask whether an on-site assessment can be arranged. Availability and any visit terms need confirmation for your project.

02

Look beneath the finish

Tile needs a suitable base. Uneven areas, movement, damage or existing finishes can change the work required. For wet areas, the underlying assembly and waterproofing responsibilities must be understood before setting tile.

03

Resolve the layout

Discuss the starting point, pattern direction, grout appearance and how cuts meet the edges of the room. Thresholds, fixtures and changes of plane deserve a place in that conversation.

04

Agree on the work

Confirm the installation scope, material responsibilities, preparation, access and scheduling before work begins. Any additional trades or work outside tile installation should be identified separately.

05

Allow for the finish

Setting and grouting materials have their own curing requirements. Follow the instructions for the products used before walking on, cleaning or exposing the finished installation to water. Care depends on the tile and grout selected.

Request an estimate